
The kid needed a new night light. I needed a weekend project. After an hour with the tools, an hour with the soldering iron, and 15 minutes in ESPHome, we have a new night light.
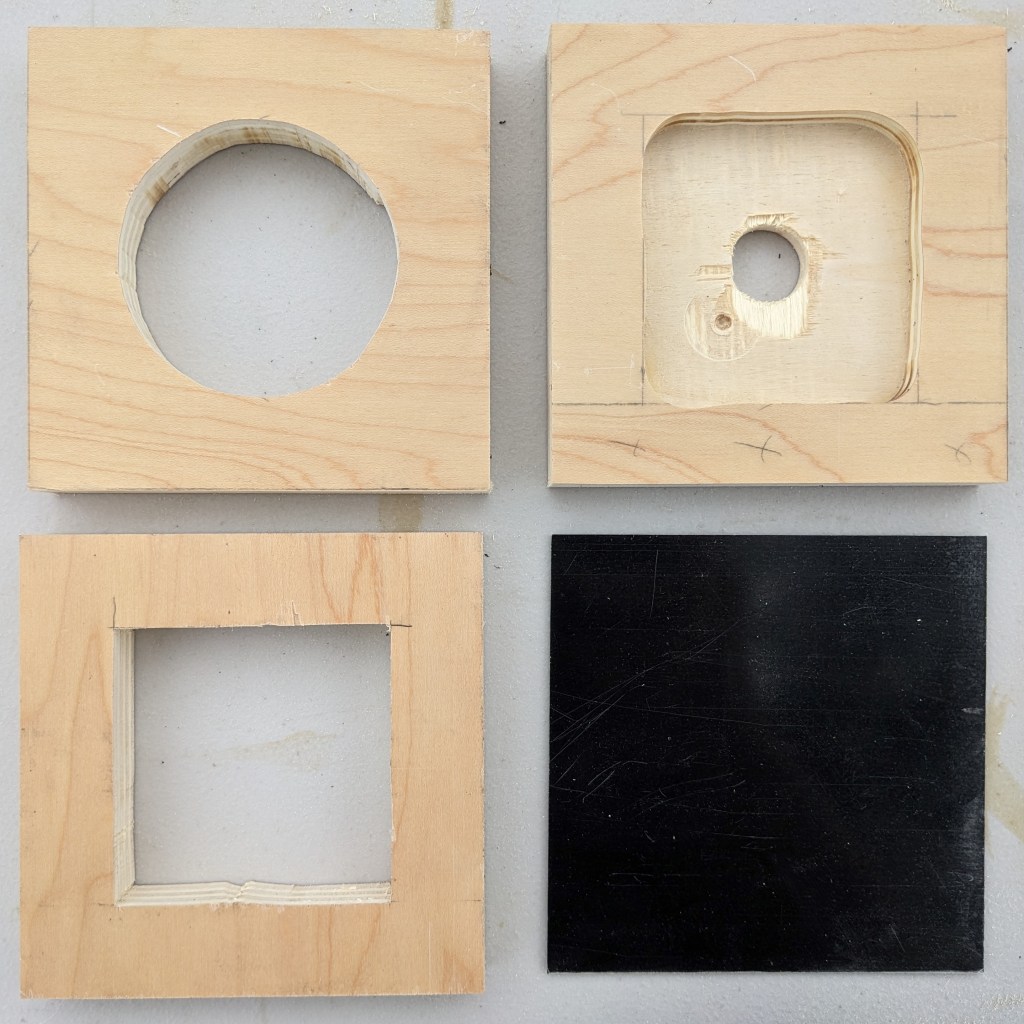
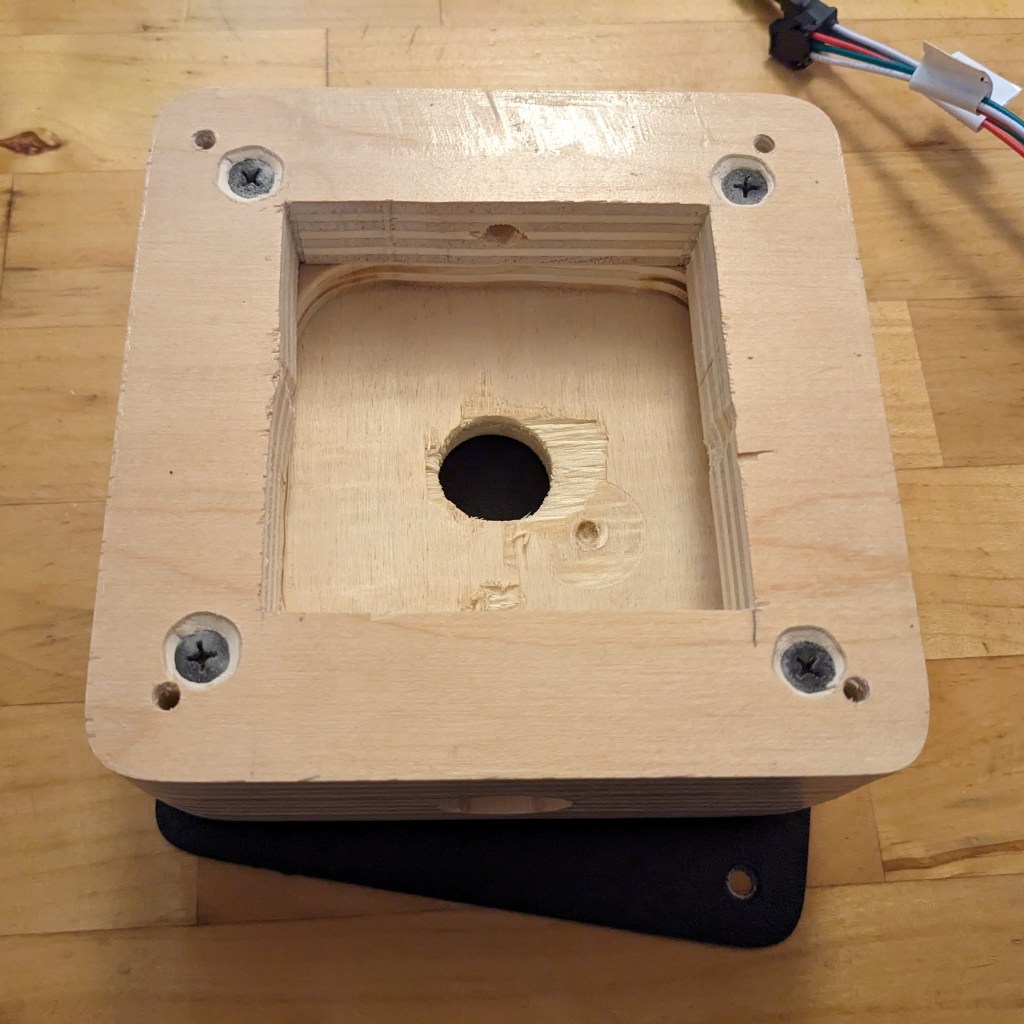
- Cut out all the pieces for the lamp. I used plywood because I had it lying around and because it stays flat. The large circle in the topmost square will accept the hurricane lamp shade I found from Amazon. It’s rough but will be hidden later when mated to the shade with hot glue. The middle block acts as the rest for the shade and is routed out on the bottom to make more room for the circuit board which goes underneath. The final block is hollowed out to make room for the board as well. The black square is a plastic base plate to keep everything contained.
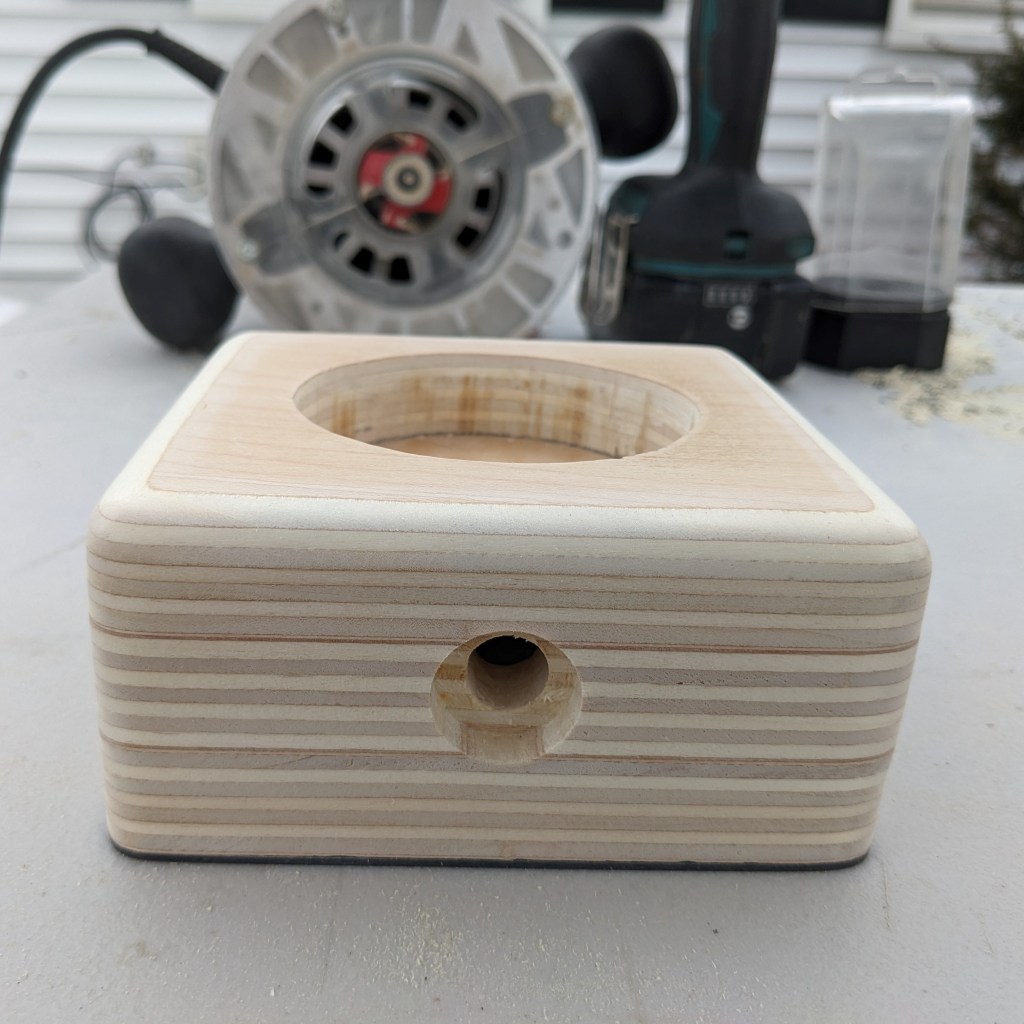
- Stack all the blocks in the appropriate order and glue/screw them together (I used both because I wasn’t about to wait around for the glue to dry.)
- Used a 1″ fostner bit to make a 1/2″ inset for the motion sensor and then drilled another hole inside of that to make a channel back to the electronics cavity. The idea here is to limit the motion sensor’s field of view so it acts more as a beam instead of picking up the entire room. This was important because I don’t want it to pick up the kid’s movement when they’re in bed sleeping, but I do want to know if they’re out of bed so I can temporarily raise the light level/fire an out-of-bed alert.
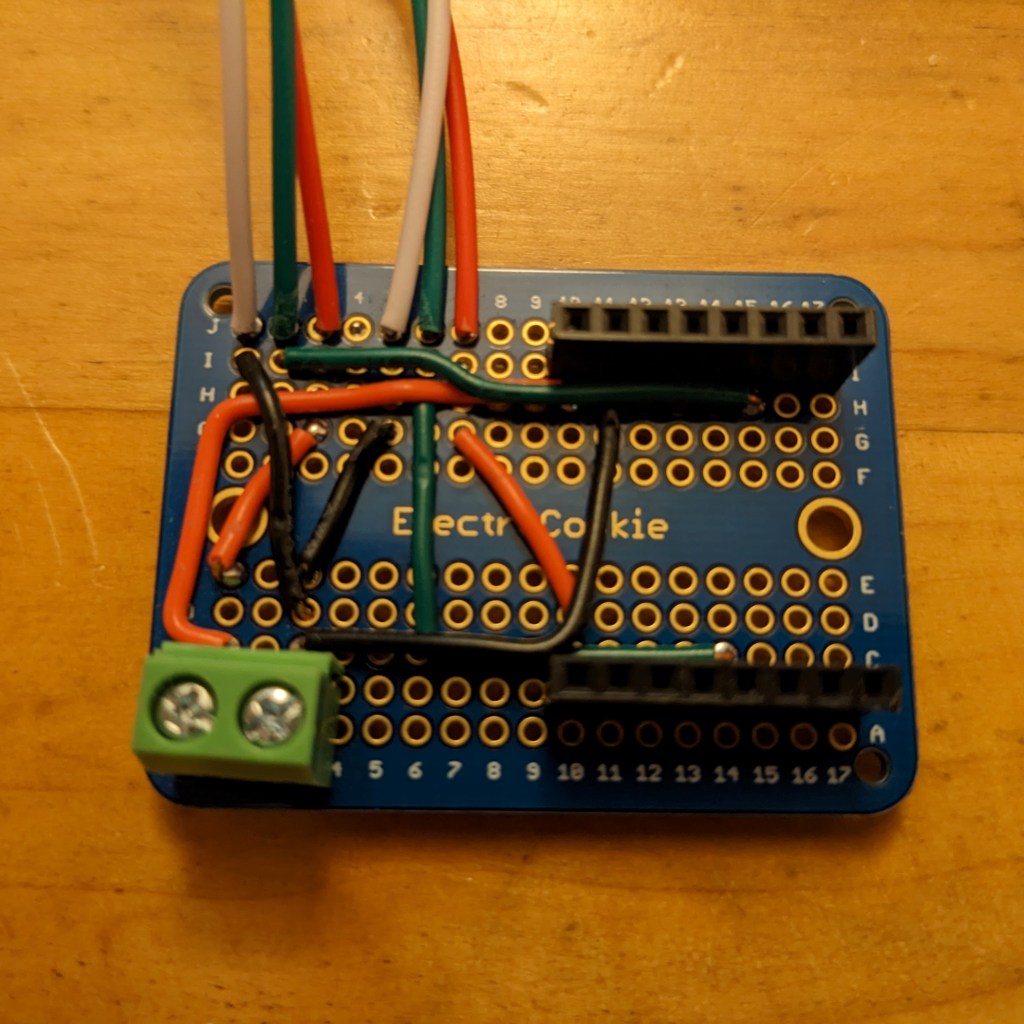
- Modified a prototype board I had started for something else to hold the D1 Mini I’ll be using. I prefer this to a tangled mess of cables with push connectors because they ALWAYS come loose.
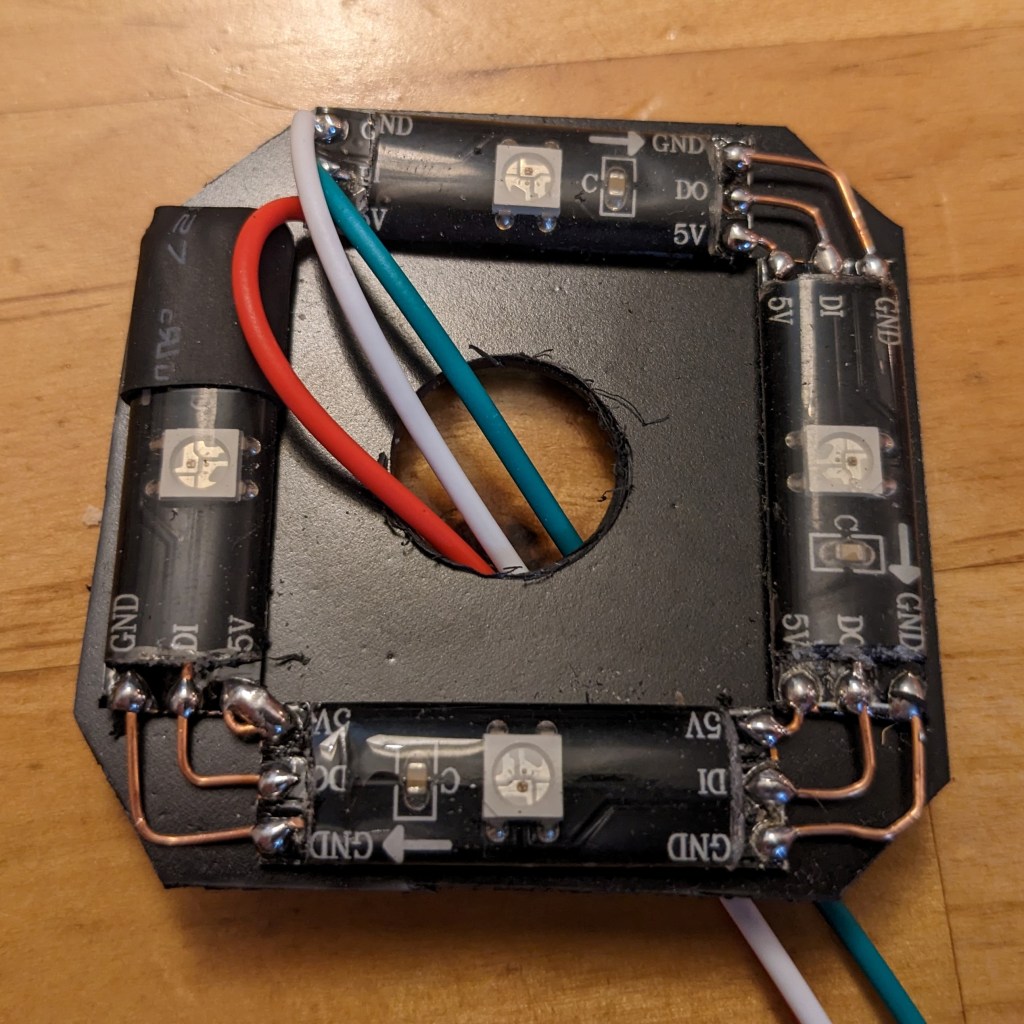
- I wanted the light to be color changeable and what I had was a strip of neopixel style LEDs. Cut them into segments, mounted them on another block of plastic to hold them stable, and soldered them up in series.
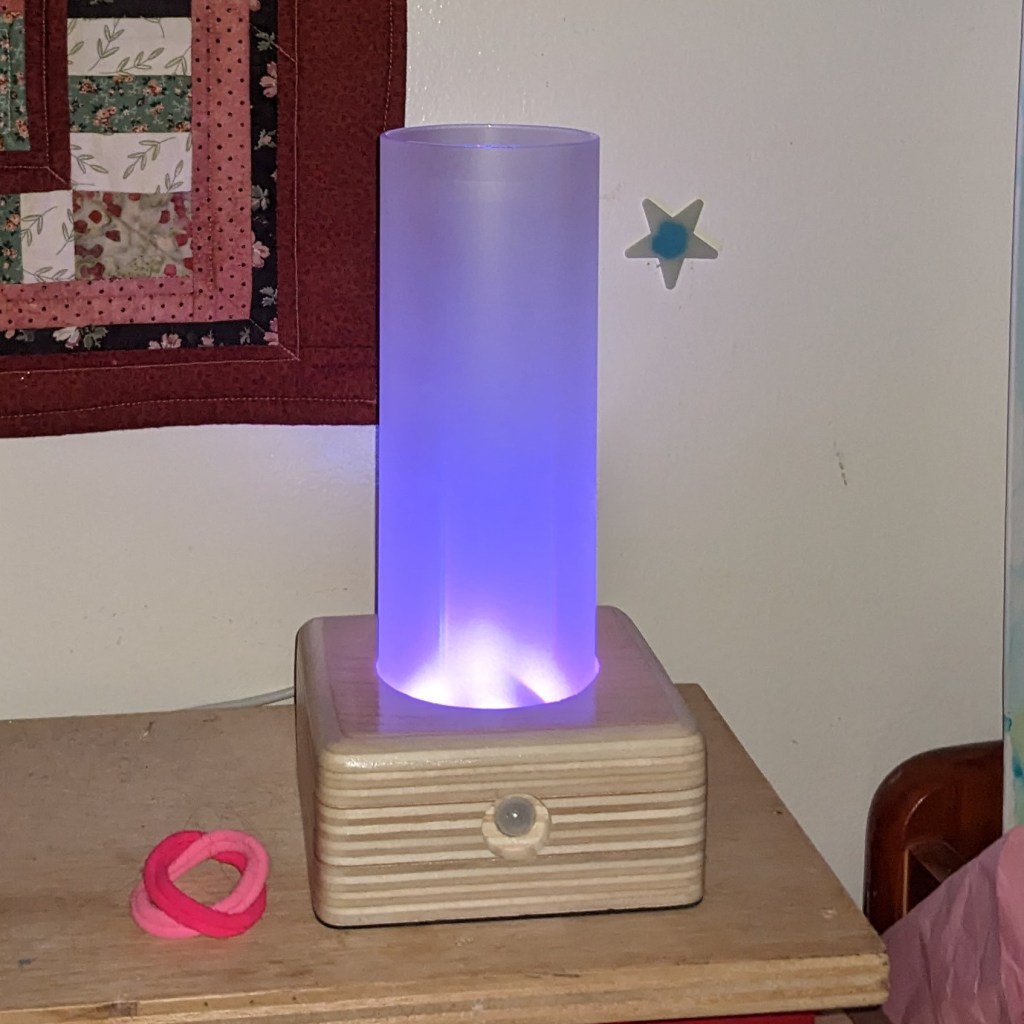
- After that it was just assembly, routed the cables, hot glued the motion sensor into its hole, the “bulb” into the base of the lamp, and the shade into its mounting hole. Screwed the plastic cover on the bottom and we’re done.
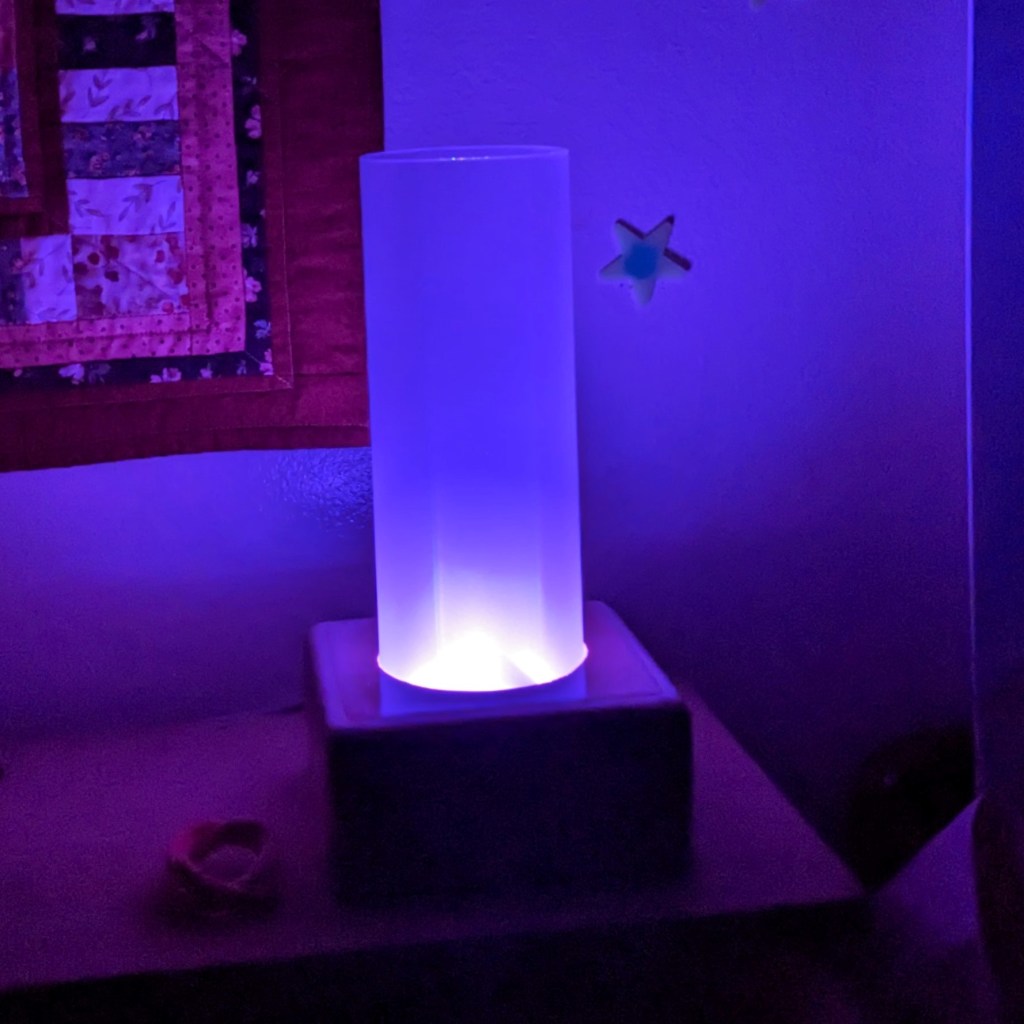
- The final two shots are the lamp lit up.

By this point I was out of time so went with the most basic ESP Home config I could (included below in case anyone needs it.) Note that I used pin D1 for the LED lights. This was a re-cycled board from a past experiment and this pin was already wired so I went with it. Just be aware that using pin D1 on this board will also light the integrated LED. It doesn’t matter when things are all sealed up in a box, but if you’re doing a project that leaves the board exposed, use pin D5 instead which will keep the onboard LED off.
light:
  - platform: neopixelbus
    type: GRB
    variant: WS2811
    pin: D1
    num_leds: 4
    name: "Kid Nightlight RGB"
    effects:
      - addressable_rainbow:
          name: Rainbow Effect With Custom Values
          speed: 25

binary_sensor:
  - platform: gpio
    pin: D5
    name: "Kid Nightlight Motion"
    device_class: motion
The light is integrated with Home Assistant but I haven’t had time to get fancy yet. Right now it turns on (purple) based on a time helper called “kid bedtime” and turns off when the house status changes to “early morning”. When I have time I want to add a button to the lamp that will cycle colors through a pre-set list. I also want to write an onboard automation that dims the light after a certain period of no motion and brings it up again when motion is detected.
